If you want to build your own AI? Not just use ChatGPT, but actually create one? I’ve been there, and let me tell you, it’s easier than you think if you follow the right path. Let me break it down into 5 clear steps that actually work.
Learn the Basics
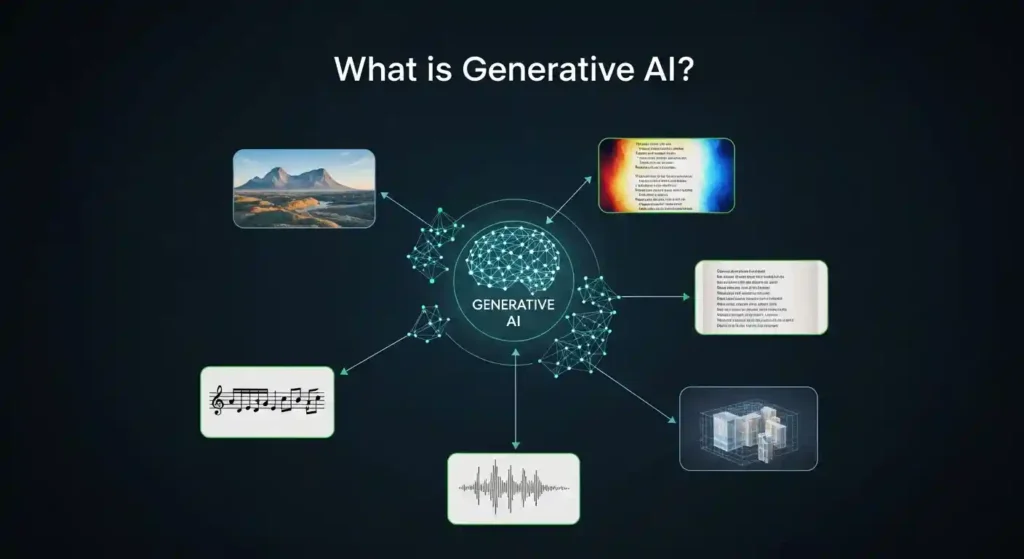
Before you touch any code, you need to understand what you’re building.
Understand:
- What LLMs / Generative AI actually are
- Basics of Machine Learning & Deep Learning
- Python, PyTorch, Transformers
Easiest start: Take a beginner course (Udemy / Coursera / free YouTube).
Look, I know “learn the basics” sounds boring, but trust me, skipping this is like trying to build a house without knowing what a hammer is. You don’t need a PhD, just solid foundations.
Spend 2-3 weeks here. Watch videos during breakfast, code during lunch breaks, and practice in the evening. The goal isn’t perfection, it’s understanding enough not to feel lost in the next steps.
My recommendation: For Python + PyTorch, there are tons of free YouTube crash courses that’ll get you up to speed fast.
Choose a Base Model
Here’s where beginners waste months: trying to train everything from zero.
Instead of building everything manually:
- Pick a pretrained model (LLaMA, Mistral, GPT-style models)
- Download models from Hugging Face
- Decide model size based on your hardware (7B, 13B, etc.)
Training from scratch is expensive; fine-tuning is smarter.
Think of it like cooking. You wouldn’t grow wheat from seeds to make bread, right? You’d buy flour and bake. Same logic here—start with a pretrained model and customize it.
I started with LLaMA 2 7B because it runs on consumer GPUs. Check your hardware first:
- Got a good GPU (RTX 3090, 4090)? Try 7B-13B models
- Using Google Colab? Stick to smaller models or use quantized versions
- Have a cloud budget? Go bigger, but watch those bills
Pro tip: Hugging Face is your best friend. Browse their model hub, read the model cards, and pick one that fits your use case.
Prepare Your Dataset
Your AI is only as good as the data you feed it. Garbage in = garbage out.
Steps:
- Collect domain-specific data (text, Q&A, chats, documents)
- Clean the data (remove noise, duplicates, weird formatting)
- Convert it into training format (JSON / CSV / instruction-response)
Example format:
{
  "instruction": "Explain REST API",
  "response": "A REST API is..."
}
This step takes longer than you think. I spent 60% of my time just cleaning data on my first project. Remove broken text, fix encoding issues, filter out junk.
Where to get data:
- Your own documents or chat logs
- Public datasets (Kaggle, Hugging Face Datasets)
- Web scraping (be ethical and legal about it)
- Synthetic data generation using existing LLMs
Quality > Quantity. 1,000 high-quality examples beat 100,000 messy ones.
Fine-Tune the Model
This is where the magic happens. This is where your AI becomes yours.
Use techniques like:
- LoRA / QLoRA (efficient, uses less memory)
- PEFT (Parameter-Efficient Fine-Tuning)
Process:
- Train in batches on GPU (local or cloud)
- Monitor loss and outputs
- Iterate and improve
This is where your AI becomes yours.
Here’s what actually happens: You take that base model and teach it your specific style, knowledge, or task. Want an AI that writes like you? Fine-tune it on your writing. Want a customer support bot? Fine-tune it on support conversations.
Tools I use:
- Hugging Face
transformerslibrary peftlibrary for LoRAbitsandbytesfor quantization- Google Colab or RunPod for GPU access
Real talk: Your first fine-tuning will probably give weird results. That’s normal. Tweak your hyperparameters, adjust your dataset, try again. I went through 7 iterations before I got something decent.
Watch for:
- Loss going down = good
- Loss exploding or staying flat = something’s wrong
- Model repeating itself = might be overfitting
- Complete nonsense = check your data format
Test, Deploy, and Iterate
You’ve got a fine-tuned model. Now what?
Test it thoroughly:
- Try edge cases and weird inputs
- Compare outputs with the base model
- Get feedback from real users (friends, colleagues, beta testers)
Deploy it:
- Local deployment: Use
llama.cpporOllama - API deployment: FastAPI + Hugging Face Inference
- Cloud deployment: AWS, Google Cloud, or specialized LLM hosts
Keep improving:
- Collect user queries that fail
- Add them to your training data
- Re-fine-tune periodically
- Monitor performance and costs
The Harsh Truths Nobody Mentions
Let me keep it real with you:
Hardware matters. You’ll need a decent GPU or cloud credits. Google Colab free tier works for learning, but you’ll outgrow it fast. Budget $50-200/month for serious work.
It will break. A lot. Out of memory errors, CUDA crashes, and weird tokenization issues. Google the error, check GitHub issues, ask in Discord communities. Everyone goes through this.
Your first model will be underwhelming. It’ll be slow, give mediocre outputs, and you’ll wonder if you did something wrong. You probably didn’t—this is just part of the process.
Data preparation is 70% of the work. Accept this now and save yourself frustration later.
Resources to Get You Started
Learning:
- Fast.ai (practical deep learning)
- Hugging Face course (free and excellent)
- Andrej Karpathy’s YouTube channel
Communities:
- r/LocalLLaMA on Reddit
- Hugging Face Discord
- AI alignment forums
Tools:
- Hugging Face Transformers
- Axolotl (fine-tuning framework)
- LM Studio (local testing)
Final Thoughts
Building your own AI isn’t as scary as it sounds. Yes, there’s a learning curve. Yes, you’ll hit obstacles. But the feeling when you type something into your own AI and it responds intelligently? Absolutely worth it.
A year ago, I couldn’t code. Now I’ve built and deployed three custom LLMs. If I can do it, you definitely can.