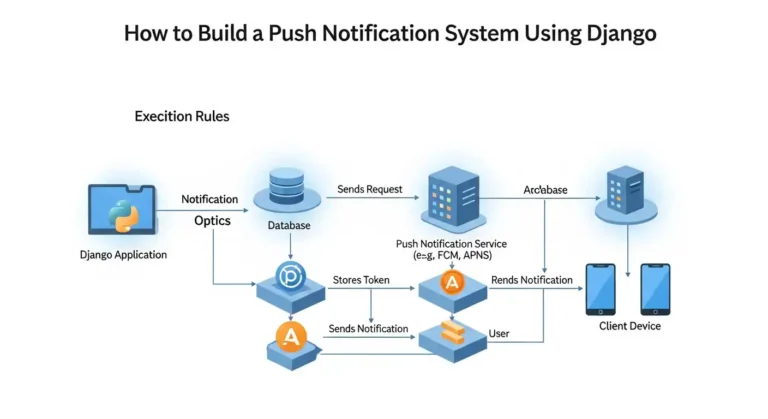
How to Build a Push Notification System Using Django
Imagine your app could send instant updates to users the moment something important happens, whether it’s a new message, an order update, or a…
Read articleArchive
Imagine your app could send instant updates to users the moment something important happens, whether it’s a new message, an order update, or a…
Read article
Very few know how to build a SaaS platform that safely serves hundreds or thousands of companies from a single system. The difference is…
Read article
So I’ve been wanting to build my own blog for a while now, and after trying out a bunch of different platforms like WordPress…
Read article
Everyone is curious about how large companies manage their SaaS-based software. In this blog post, I will guide you through how to use the…
Read article
Hey everyone! Django 6.0 is finally on the horizon (expected December 2025), and I’ve been diving deep into the release notes so you don’t…
Read article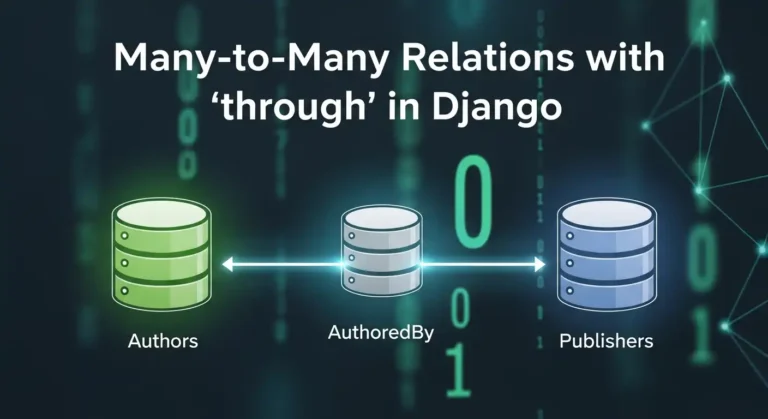
Hey there! If you’ve been working with Django for a while, you’ve probably used many-to-many relationships. They’re great, right? But have you ever felt…
Read article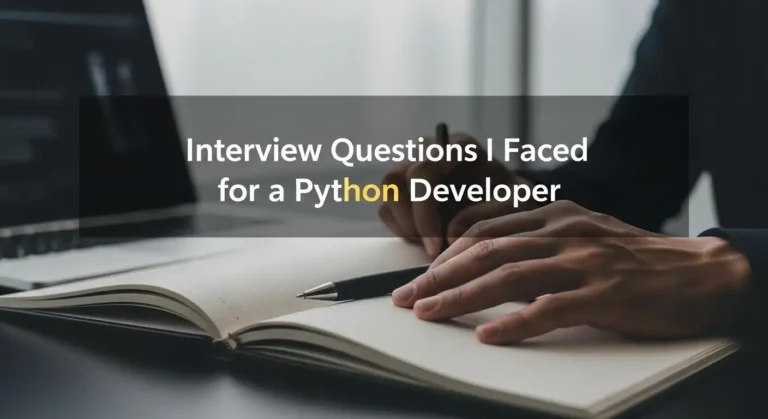
Hi guys, recently I gave an interview at a startup company. I can’t reveal their name, but I am posting the questions they asked…
Read article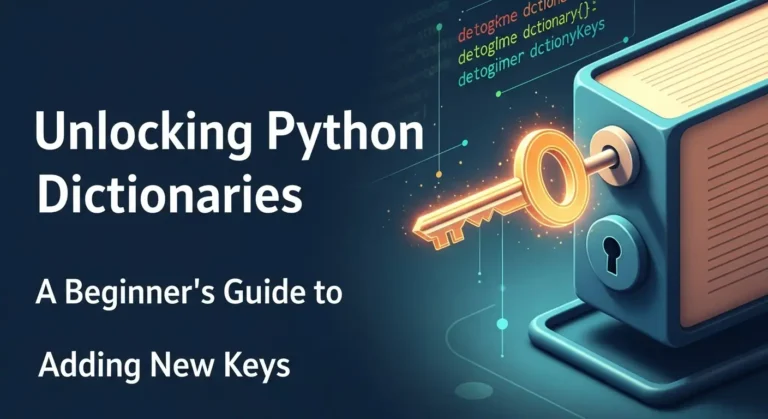
Think of a dictionary as a real-life address book. You don’t flip through every page to find someone; you look up their name (key) to instantly…
Read article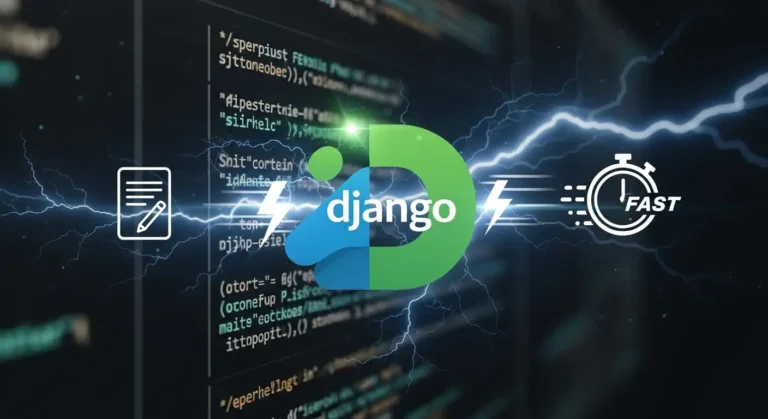
FastAPI runs on Uvicorn, an ASGI server made for Python code that runs at the same time. Django is older and has more features,…
Read article
Last month, I got stuck in the usual routine: job boards were checked by hand, listings were copied into spreadsheets, and the best opportunities…
Read article