Python frameworks

FastAPI Python web framework for high-performance API development

Exploring FastAPI: The Future of Python Web Frameworks

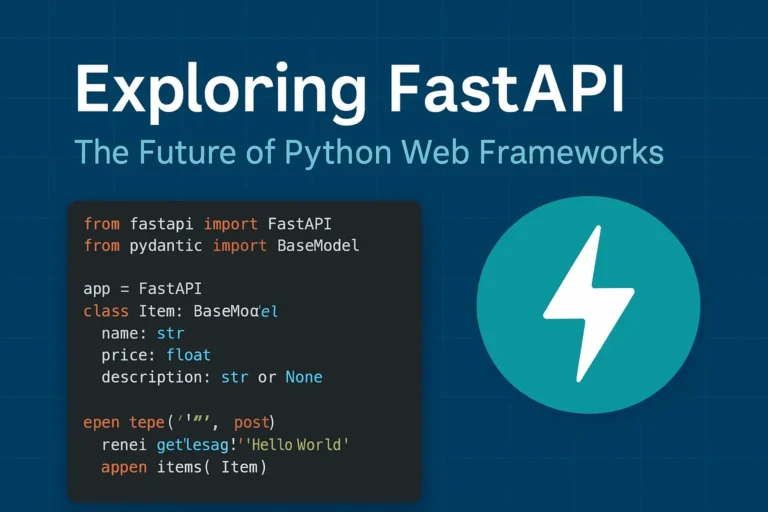
Why FastAPI is Taking the Python World by Storm In the rapidly evolving of Python web development, FastAPI has emerged as a game changing framework that’s reshaping how developers build modern APIs. Since its release in 2018, this innovative framework has gained massive adoption among developers worldwide, and for good reason. FastAPI combines the best of modern Python features with exceptional performance, making it an ideal choice for building production-ready APIs. Whether you’re a seasoned Python developer or just starting your web development journey, understanding FastAPI’s capabilities is crucial for staying ahead in today’s competitive development environment. What Makes FastAPI Special? Lightning-Fast Performance FastAPI lives up to its name by delivering exceptional speed that rivals frameworks written in Go and Node.js. Built on top of Starlette and Pydantic, FastAPI leverages Python’s async capabilities to handle thousands of concurrent requests efficiently. Performance benchmarks consistently show FastAPI outperforming traditional Python frameworks like Django and Flask by significant margins, making it perfect for high-traffic applications and microservices architectures. Automatic API Documentation One of FastAPI’s most beloved features is its automatic generation of interactive API documentation. Using the OpenAPI standard, FastAPI creates beautiful, interactive documentation that developers can use to test endpoints directly in the browser. This feature eliminates the tedious task of manually maintaining API documentation and ensures your documentation is always up-to-date with your code. Type Hints and Validation FastAPI leverages Python’s type hints to provide automatic request and response validation. This means fewer bugs, better IDE support, and more maintainable code. The framework uses Pydantic models to ensure data integrity and provide clear error messages when validation fails. Key Features That Set FastAPI Apart Modern Python Standards FastAPI is built with modern Python in mind, fully supporting: Built-in Security Features Security is paramount in modern web applications, and FastAPI provides robust built-in security features including: Developer Experience FastAPI prioritizes developer productivity with features like: Real-World Use Cases Microservices Architecture FastAPI excels in microservices environments due to its lightweight nature and fast startup times. Companies like Uber, Netflix, and Microsoft have adopted FastAPI for various microservices in their architecture. Machine Learning APIs The data science community has embraced FastAPI for deploying machine learning models as APIs. Its async capabilities and performance make it ideal for handling ML inference requests at scale. Traditional Web APIs From simple CRUD operations to complex business logic, FastAPI handles traditional web API development with elegance and efficiency. Getting Started with FastAPI Here’s a simple example of a FastAPI application: from fastapi import FastAPI from pydantic import BaseModel app = FastAPI() class Item(BaseModel): name: str price: float description: str = None @app.get(“/”) async def root(): return {“message”: “Hello World”} @app.post(“/items/”) async def create_item(item: Item): return {“item”: item} This simple example demonstrates FastAPI’s clean syntax and automatic validation through Pydantic models. FastAPI vs. Other Python Frameworks FastAPI vs. Django While Django remains excellent for full-stack web applications, FastAPI shines in API-first development with superior performance and modern async support. FastAPI vs. Flask Flask’s simplicity is appealing, but FastAPI offers better performance, automatic documentation, and built-in validation without sacrificing ease of use. FastAPI vs. Django REST Framework For pure API development, FastAPI provides better performance and developer experience compared to Django REST Framework, though DRF remains strong for Django-integrated projects. Best Practices for FastAPI Development Structure Your Project Organize your FastAPI project with clear separation of concerns: Performance Optimization Maximize your FastAPI application’s performance by: Testing and Documentation Ensure robust applications by: The Future of FastAPI FastAPI continues to evolve with regular updates and new features. The framework’s roadmap includes enhanced WebSocket support, improved performance optimizations, and better integration with modern deployment platforms. The growing ecosystem around FastAPI, including tools like FastAPI Users for authentication and FastAPI Cache for caching, demonstrates the framework’s bright future in Python web development. Conclusion: Is FastAPI Right for Your Next Project? FastAPI represents a significant leap forward in Python web development, combining high performance with developer-friendly features. If you’re building APIs that require speed, scalability, and maintainability, FastAPI should be at the top of your consideration list. The framework’s modern approach to Python development, combined with its excellent documentation and growing community support, makes it an excellent choice for both new projects and migrating existing applications. Whether you’re building microservices, machine learning APIs, or traditional web services, FastAPI provides the tools and performance needed to succeed in today’s competitive development landscape. If you like, please comment below for FastAPI’s more blogs:

Exploring FastAPI: The Future of Python Web Frameworks Read More »

Comparison graphic showing Django, Flask, and FastAPI logos with the text 'Django vs Flask vs FastAPI: Best Python Web Framework in 2025?

Django vs Flask vs FastAPI: Best Python Web Framework in 2025?

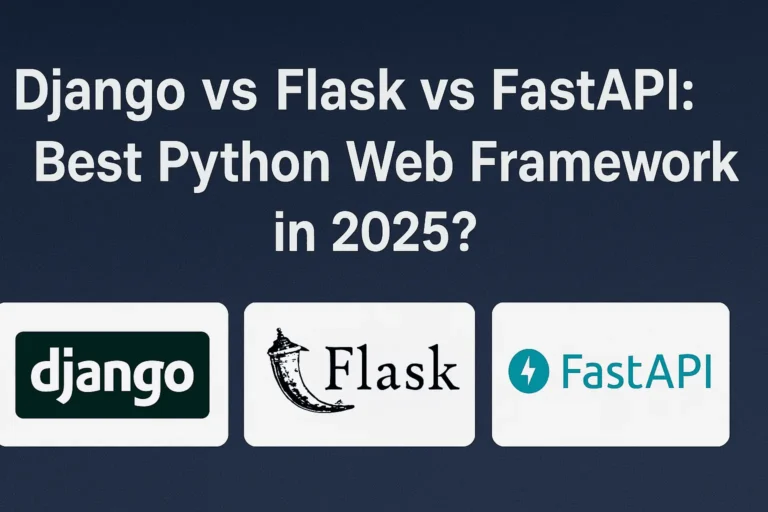
When it comes to web development with Python in 2025, developers are spoilt for choice. Three major frameworks dominate the scene: Django, Flask, and FastAPI. Each has its strengths, weaknesses, and ideal use cases. But which one is the best for your project in 2025? In this article, we’ll explore the latest trends, performance benchmarks, community support, and real-world applications of each framework to help you make an informed decision. Django: The Full-Stack Django is a high-level Python web framework that promotes fast development and simple, practical design. It includes a variety of built-in capabilities, such as an Object-Relational Mapping (ORM), an admin interface, user authentication, and security protections. It’s an ancient framework—initial release date: 21 July 2005. What’s New in 2025: Advantages: Disadvantages: Use Cases: Flask: The Lightweight Microframework Flask is a simple and adaptable microframework. It provides the tools you need to quickly construct web apps without requiring a specific project layout or dependencies. What’s New in 2025: Advantages: Disadvantages: Use Cases: FastAPI: The Rising Star FastAPI is a modern, fast (high-performance) web framework for creating APIs in Python 3.7+ using standard Python type hints. It is an async-first framework developed on top of Starlette and Pydantic. What’s New in 2025: Advantages: Disadvantages: Use Cases: Conclusion All three frameworks are actively maintained and serve different purposes. In 2025, developers are moving toward FastAPI for performance and API-centric applications, but Django remains unbeatable for full-featured web apps, while Flask continues to be the go-to for lightweight projects.

Django vs Flask vs FastAPI: Best Python Web Framework in 2025? Read More »

django

How to Install Django and Create Your First Project

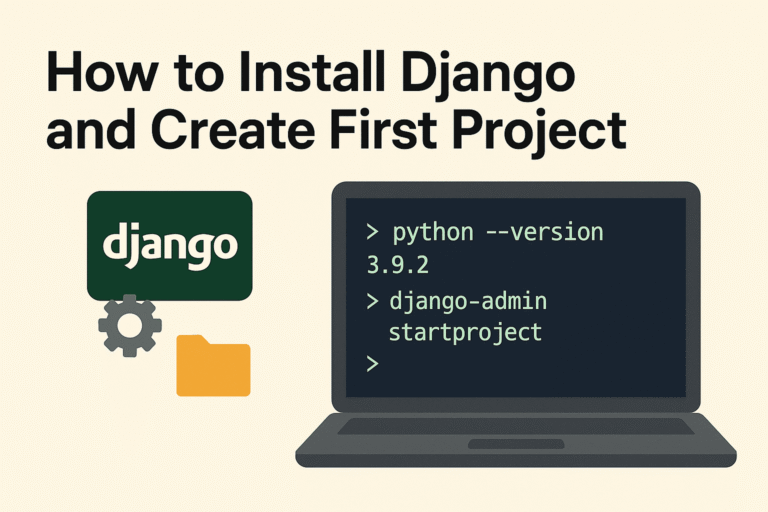
Django is a powerful Python web framework for building Full Stack website quickly and easily.Moreover, it helps you write clean, maintainable code. In addition, it offers a simple admin panel to manage your site efficiently. In this blog post, I’ll guide you step by step so you can get started with Django and ultimately create your first project. To begin with, you need to install Python. Make sure to download it from the official website. During installation, don’t forget to check the option to add Python to your system PATH. Otherwise, you may face issues running Python from the command line. After that, verify your installation by running python –version. If everything is set up correctly, the terminal will show the version number. Now, let’s talk about Django apps. In simple terms, a Django app is a self-contained module within a Django project. Each app performs a specific function or delivers a particular feature. For example, you might have one app for user authentication and another for blog posts. Finally, always use a virtual environment for your Django projects. This way, you can manage dependencies easily and avoid conflicts between different projects. Prerequisites Let’s begin with some requirements Python 3.10 or later During installation on Windows, check the box that says:“Add Python to PATH”This ensures you can run python from the command line without extra setup. Always install Python 3.10+ (latest stable version). Python 2 is deprecated. A code editor like VS Code or PyCharm Step 1: Create a Virtual Environment For projects, always create a virtual environment: #For windows python -m venv “name of your environment” #for macOS or linux python3 -m venv “name of your environment” Step 2: Activate the Environment Note: Here, env is the name of the environment #for windows env\Scripts\activate #for macOS or linux source env/bin/activate Step 3: Install Django Open your terminal or command prompt and run pip install django #to check version django-admin –version Step 4: Create Your Django Project Run the following command to create a new project django-admin startproject myproject Navigate to your project folder: cd myproject Step 5: Now it’s time to create the App “To put it simply, a Django app is a self-contained module that handles a specific task or feature within a Django project.” “Essentially, a Django app is a modular component of a Django project that delivers a distinct feature or functionality.” It contains files like models.py, views.py, apps.py, admin.py, tests.py, etc. Can be reused across multiple Django projects. After creating it, you must add it to INSTALLED_APPS the list in settings.py. python manage.py startapp myapp Step 6: Add the app to the installed apps List Your installed app list looks like this: you need to add it there INSTALLED_APPS = [ ‘django.contrib.admin’, ‘django.contrib.auth’, ‘django.contrib.contenttypes’, ‘django.contrib.sessions’, ‘django.contrib.messages’, ‘django.contrib.staticfiles’, ‘myapp’, ] After that, create a urls.py file in your app. It’s not required to create this file in every app, but it’s a good practice. Keeping separate urls.py Files for each app make your project more organized and easier to manage. The project URLs file looks like this: #myproject urls.py from django.contrib import admin from django.urls import path, include urlpatterns = [ path(‘admin/’, admin.site.urls), path(”, include(‘myapp.urls’)), ] Step 7: Run the Development Server Use this command to start the server python manage.py runserver Open your browser and go to http://127.0.0.1:8000/ Step 8: Make Migrations Before running migrations, make sure to check your database settings in the project’s settings.py file. By default, Django uses SQLite, which is already set up for you and good for small projects. For PostgreSQL: #for windows pip install psycopg2 # for linux pip install psycopg2-binary configuration structure of the database for PostgreSQL DATABASES = { ‘default’: { ‘ENGINE’: ‘django.db.backends.postgresql’, ‘NAME’: ‘your_database_name’, ‘USER’: ‘your_postgres_user’, ‘PASSWORD’: ‘your_password’, ‘HOST’: ‘localhost’, ‘PORT’: ‘5432’, } } For MySQL: #install mysqlclient pip install mysqlclient MySQL configuration structure. DATABASES = { ‘default’: { ‘ENGINE’: ‘django.db.backends.mysql’, ‘NAME’: ‘your_database_name’, ‘USER’: ‘your_mysql_user’, ‘PASSWORD’: ‘your_password’, ‘HOST’: ‘localhost’, ‘PORT’: ‘3306’, } } Migrations in Django are used to create and apply changes to your database schema (like tables and columns) based on your models.py file. python manage.py makemigrations python manage.py migrate Step 9: Create Super User This is the final step to manage CRUD operations using Django’s admin panel. You need to create a superuser. Use the command below to create it: python manage.py createsuperuser Comment below if you doubt this section.

How to Install Django and Create Your First Project Read More »

Scroll to Top