Create a CLI Tool with Python: From Zero to Hero
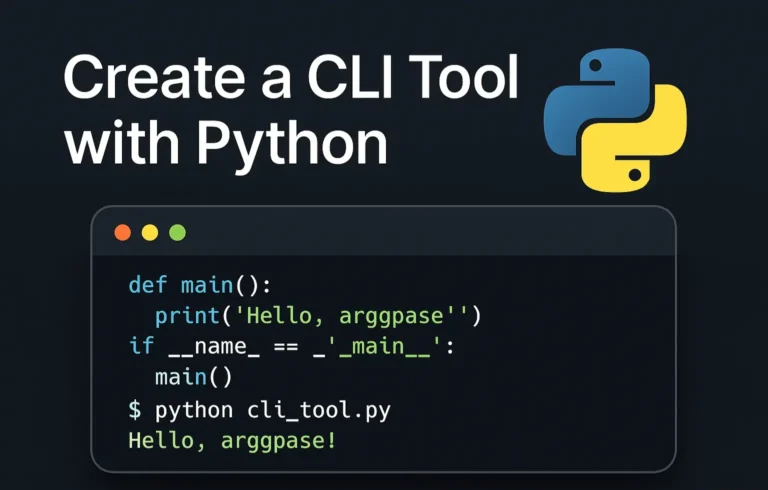
Command-line tools are essential for developers—they’re fast, lightweight, and automate repetitive tasks. In this tutorial, we’ll build a File Organizer CLI tool in Python from scratch. By the end, you’ll have a working CLI tool that organizes files by type and is ready to share or package for others. Why Build CLI Tools with Python? Before we dive into the code, it’s important to understand why Python is an excellent choice for building command-line tools. 1. Simplicity and Readability Python’s clean and intuitive syntax allows you to focus on functionality, rather than worrying about complex language constructs. You can write concise, readable code that’s easy to maintain—perfect for small utilities or large projects alike. 2. Rich Ecosystem Python comes with a powerful standard library for file handling, argument parsing, and more. On top of that, third-party packages like Click, Rich, and argparse make building robust and user-friendly CLI tools even easier. 3. Cross-Platform Compatibility Python runs seamlessly on Windows, macOS, and Linux. The same CLI tool you develop on your local machine can be deployed anywhere without major changes—saving you time and headaches. 4. Rapid Development Python is an interpreted language, which means you can write, test, and iterate on your code quickly. This rapid feedback loop is ideal when building CLI tools where functionality and usability matter. Setting Up Your Development Environment First, let’s prepare our folder. I recommend creating a virtual environment to keep dependencies isolated: mkdir my-cli-tool cd my-cli-tool python -m venv venv source venv/bin/activate # On Windows: venv\Scripts\activate Install the essential rich-click we’ll use: pip install click rich I am using click for argument parsing and rich for beautiful terminal output. While Python’s built-in argparse is powerful, click offers a more intuitive approach for complex CLI applications. Building Your First CLI Tool: A File Organizer Let’s create something practical – a tool that organizes files in a directory by their extensions. This example will demonstrate core CLI concepts while solving a real problem. Create a file called file_organizer.py: import os import shutil from pathlib import Path import click from rich.console import Console from rich.table import Table from rich.progress import Progress console = Console() @click.command() @click.argument(‘directory’, type=click.Path(exists=True, file_okay=False, dir_okay=True)) @click.option(‘–dry-run’, is_flag=True, help=’Show what would be done without making changes’) @click.option(‘–verbose’, ‘-v’, is_flag=True, help=’Show detailed output’) def organize_files(directory, dry_run, verbose): “”” Organize files in DIRECTORY by their extensions. Creates subdirectories for each file type and moves files accordingly. “”” directory = Path(directory) if dry_run: console.print(“[yellow]Running in dry-run mode – no changes will be made[/yellow]”) # Scan directory and group files by extension file_groups = {} total_files = 0 for file_path in directory.iterdir(): if file_path.is_file(): extension = file_path.suffix.lower() or ‘no_extension’ if extension not in file_groups: file_groups[extension] = [] file_groups[extension].append(file_path) total_files += 1 if total_files == 0: console.print(“[red]No files found in the specified directory[/red]”) return # Display summary table if verbose or dry_run: table = Table(title=f”Files to organize in {directory}”) table.add_column(“Extension”, style=”cyan”) table.add_column(“Count”, style=”green”) table.add_column(“Files”, style=”white”) for ext, files in file_groups.items(): file_names = “, “.join([f.name for f in files[:3]]) if len(files) > 3: file_names += f” … and {len(files) – 3} more” table.add_row(ext, str(len(files)), file_names) console.print(table) if dry_run: return # Create directories and move files with Progress() as progress: task = progress.add_task(“[green]Organizing files…”, total=total_files) for extension, files in file_groups.items(): # Create directory for this extension ext_dir = directory / extension.lstrip(‘.’) ext_dir.mkdir(exist_ok=True) for file_path in files: destination = ext_dir / file_path.name # Handle naming conflicts counter = 1 while destination.exists(): name_parts = file_path.stem, counter, file_path.suffix destination = ext_dir / f”{name_parts[0]}_{name_parts[1]}{name_parts[2]}” counter += 1 shutil.move(str(file_path), str(destination)) if verbose: console.print(f”[green]Moved[/green] {file_path.name} → {destination}”) progress.advance(task) console.print(f”[bold green]Successfully organized {total_files} files![/bold green]”) if __name__ == ‘__main__’: organize_files() Understanding the Code Structure Let’s break down the key components: my-cli-tool/ │── file_organizer.py # Main CLI code │── text.py # Test file generator │── README.md # Documentation │── setup.py # Installation script │── assets/ │ └── banner.png # Optional banner for README │── venv/ # Local virtual environment Making Your Tool Installable To make your CLI tool easily installable and distributable, create a setup.py file: from setuptools import setup setup( name=”file-organizer”, version=”0.1.0″, py_modules=[“file_organizer”], # because you have file_organizer.py install_requires=[ “click”, “rich”, ], entry_points={ “console_scripts”: [ “file-organizer=file_organizer:organize_files”, ], }, author=”Tarun Kumar”, description=”A Python CLI tool to organize files by extension”, long_description=open(“README.md”).read() if open(“README.md”, “r”, encoding=”utf-8″) else “”, long_description_content_type=”text/markdown”, python_requires=”>=3.8″, ) Install your tool in development mode: pip install -e . Now you can run your tool from anywhere using the organize command! Testing Your CLI Tool Testing CLI applications is more important because it requires special consideration. Here’s how to test your file organizer: import os # Folder where test files will be created TEST_DIR = “test_files” # Make the directory if it doesn’t exist os.makedirs(TEST_DIR, exist_ok=True) # List of test files with different extensions files = [ “document1.pdf”, “document2.pdf”, “image1.jpg”, “image2.jpg”, “image3.png”, “script1.py”, “script2.py”, “archive1.zip”, “archive2.zip”, “notes.txt”, “readme.md” ] # Create empty files for file_name in files: file_path = os.path.join(TEST_DIR, file_name) with open(file_path, “w”) as f: f.write(f”Test content for {file_name}\n”) print(f”Created {len(files)} test files in ‘{TEST_DIR}’ folder.”) Run your tests with: python text.py Best Practices for CLI Development Clear Documentation: Always provide helpful docstrings and command descriptions. Users should understand your tool’s purpose at a glance. Graceful Error Handling: Anticipate common errors and provide meaningful error messages. Never let users see raw Python stack traces. Progress Feedback: For long-running operations, show progress bars or status updates. Silent tools feel broken. Configurable Behavior: Allow users to customize your tool’s behavior through configuration files or environment variables. Follow Unix Philosophy: Make tools that do one thing well and can be easily combined with other tools. Deployment and Distribution Once your CLI tool is ready, you have several distribution options: PyPI Publication: Upload your package to the Python Package Index for easy installation via pip. GitHub Releases: Distribute your tool through GitHub with pre-built executables using PyInstaller. Docker Container: Package your tool in a Docker container for consistent deployment across environments. Download code Advanced Topics to Explore As you become more comfortable with CLI development, consider exploring: Conclusion Building CLI
Create a CLI Tool with Python: From Zero to Hero Read More »

