web development

Heroui image feature

HeroUI: The Modern React UI Framework You Need in 2025

In the ever-evolving React ecosystem, developers often struggle to choose the right UI library—one that is fast, accessible, modern, and developer-friendly. HeroUI, formerly known as NextUI, checks all those boxes and more. Officially rebranded in January 2025, HeroUI is quickly becoming the go-to choice for building beautiful and responsive interfaces with minimal effort. Backed by the power of Tailwind CSS and React Aria, HeroUI offers fully accessible and composable components built with performance in mind. Whether you’re building a dashboard, a marketing site, or a SaaS product, HeroUI’s modular design and rich theming options give you complete control. In this post, we’ll explore HeroUI’s key features, how to set it up, and why it might just be the best UI library for your next project. What is HeroUI? From NextUI to HeroUI HeroUI is a beautiful, fast, and modern React UI library designed to help developers build accessible and customizable web applications. It was formerly known as NextUI, and in January 2025, it underwent a strategic rebrand to better reflect its expanded capabilities and future direction. Built for the Future Key Features of HeroUI HeroUI vs Other UI Libraries HeroUI vs Material UI While Material UI offers a mature component ecosystem, it can feel rigid and comes with design opinions that are harder to override. HeroUI offers more flexibility through Tailwind, with less CSS bloat and faster customization. HeroUI vs Chakra UI Chakra UI emphasizes accessibility, like HeroUI. But HeroUI’s integration with Tailwind and its lightweight CLI tool gives it a performance edge—ideal for modern apps and frameworks like Next.js. Migrating from NextUI to HeroUI HeroUI is the spiritual successor to NextUI. Here’s what you need to know: Installing HeroUI Using the CLI The HeroUI CLI is the fastest way to get started. It handles everything from project scaffolding to component generation. Step 1: Install the CLI (Optional) You can install the CLI globally: npm install -g heroui Or use it directly via npx: npx heroui init Step 2: Initialize the Project Choose your preferred package manager: # pnpm pnpm dlx heroui init # npm npx heroui init # yarn yarn dlx heroui init # bun bunx heroui init You’ll be prompted to select: Step 3: Install Dependencies Once the setup is complete, install the dependencies: # pnpm pnpm install # npm npm install # yarn yarn install # bun bun install Step 4: Start the Development Server Run your project locally: # pnpm pnpm dev # npm npm run dev # yarn yarn dev # bun bun run dev Step 5: Add Components with the CLI Use the CLI to add components to your project: heroui add button Add multiple components: heroui add button card checkbox Or add all available components: heroui add –all If you omit the component name, the CLI launches an interactive menu: heroui add Example prompt: ? Which components would you like to add? ◯ accordion ◯ autocomplete ◯ avatar ◯ badge ◯ breadcrumbs ◉ button ◯ card ◯ checkbox ◯ chip ◯ code HeroUI in Action Here are just a few components you can start using immediately: Button Example import { Button } from “@heroui/react”; export default function Example() { return <Button color=”primary”>Click Me</Button>; } Modal Example import { Modal, useDisclosure } from “@heroui/react”; export default function ModalExample() { const { isOpen, onOpen, onClose } = useDisclosure(); return ( <> <Button onPress={onOpen}>Open Modal</Button> <Modal isOpen={isOpen} onClose={onClose}> <Modal.Content> <Modal.Header>Welcome</Modal.Header> <Modal.Body>Hello from HeroUI!</Modal.Body> </Modal.Content> </Modal> </> ); } Final Thoughts HeroUI brings together the best parts of Tailwind, accessibility, and developer-focused tooling in one elegant package. If you’re starting a new project in 2025 or looking to modernize an older one, HeroUI deserves a serious look. It’s ideal for: With its intuitive CLI, modular design, and commitment to best practices, HeroUI is ready for production and your next project.

HeroUI: The Modern React UI Framework You Need in 2025 Read More »

Top 5 Python libraries every developer should master in 2025

Top 5 Python Libraries Every Developer Should Master in 2025

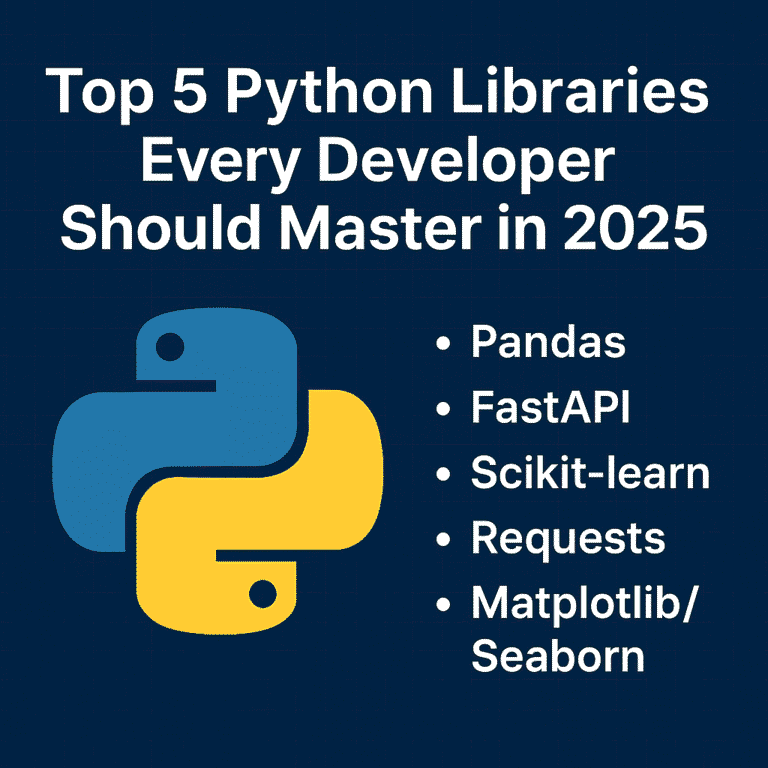
As we move further into 2025, Python continues to be one of the most popular programming languages in the world. Its clean syntax, vibrant community, and powerful libraries make it a favorite among industry developers—from web development and data science to AI, automation, and beyond. But Python’s true strength lies in its ecosystem. With the right libraries, you can do more with less code—faster, cleaner, and more efficiently. Whether you’re just starting your Python journey or looking to sharpen your existing skills, here are five essential libraries every Python developer should know this year. 1. Pandas – Your Go-To Tool for Data Manipulation In today’s data-driven world, knowing how to work with data is a must—and Pandas makes it easy. It’s the standard library for handling structured data in Python and is widely used in fields like data science, finance, web development, and machine learning. Why Learn Pandas: Real-world uses: Data analysis, reporting dashboards, cleaning raw datasets, and even feeding machine learning models. 2. FastAPI – The New Standard for Building APIs FastAPI is quickly becoming the framework for building modern web APIs in Python. It’s fast (really fast), easy to use, and comes with automatic documentation out of the box. Why Developers Love FastAPI: Why it matters in 2025: More and more apps are going API-first. FastAPI helps you build scalable, production-ready APIs that integrate easily with frontend and mobile apps. 3. Scikit-learn – Machine Learning Made Simple Scikit-learn is the perfect place to start if you’re curious about machine learning. It abstracts away the complexity of ML algorithms and provides a consistent interface for quickly trying things. What You Can Do with It: Why learn it: Even if you’re not a full-time data scientist, understanding ML basics can give your apps a smarter edge. 4. Requests – The Simplest Way to Talk to the Web Every app these days needs to fetch or send data from somewhere—APIs, websites, services. The requests The library makes working with HTTP super simple and intuitive. Why Requests are a Must-Have: Use Cases: Calling external APIs (like weather, payment, or social media), scraping data, automating web interactions, or even testing your backend services. 5. Matplotlib & Seaborn – Visualize Like a Pro Data is only useful when you can understand and communicate it. That’s where Matplotlib and Seaborn come in. Learn to: Why it’s essential: Visualization helps you (and others) make better decisions based on your data. Whether it’s a report for your boss or a dashboard for your users, good visuals matter. Bringing It All Together These five libraries cover the entire journey of modern Python development: Mastering this toolkit gives you the power to build full-stack data-driven applications, from scratch to production. How to Start Learning (A 10-Week Roadmap) Here’s a simple plan you can follow: Conclusion The Python ecosystem is vast, but you don’t need to learn everything. These five libraries form a solid foundation that will serve you in almost every tech role—whether you’re building apps, analyzing data, or exploring AI. Start with one library and build something small. If you want to combine all of these, consider using the Streamlit library to quickly build dashboards. Keep going—the skills you develop now will open doors throughout your career. Follow my Streamlit blog.

Top 5 Python Libraries Every Developer Should Master in 2025 Read More »

django-performance-optimization-2025-guide

Boosting Your Django App Performance in 2025: Latest Tips

Performance optimization remains a critical aspect of Django development, and 2025 brings new tools, techniques, and best practices that can dramatically improve your application’s speed and efficiency. Whether you’re dealing with slow database queries, memory bottlenecks, or scaling challenges, this comprehensive guide covers the latest strategies to supercharge your Django applications. Understanding Performance Bottlenecks in Modern Django Apps Before diving into optimization techniques, it’s crucial to identify where performance issues typically occur in Django applications. The most common bottlenecks include database queries, template rendering, static file serving, and inefficient Python code execution. Modern Django apps also face unique challenges with microservices architecture, containerization overhead, and cloud-native deployment patterns. Database Optimization: The Foundation of Fast Django Apps Query Optimization with Django 5.x Features Django 5.0 and later versions introduce several query optimization features that can significantly improve database performance. The new select_related() and prefetch_related() Enhancements allow for more sophisticated relationship loading strategies. Use select_related() for forward foreign key relationships and one-to-one relationships to reduce database hits: # Instead of this (N+1 queries) for article in Article.objects.all(): print(article.author.name) # Use this (2 queries total) for article in Article.objects.select_related(‘author’): print(article.author.name) For reverse foreign key and many-to-many relationships, leverage prefetch_related(): # Efficient loading of related objects authors = Author.objects.prefetch_related(‘articles’).all() for author in authors: for article in author.articles.all(): print(article.title) Advanced Database Indexing Strategies Strategic database indexing is implemented in modern Django applications; as a result, Django app performance is enhanced. Slow queries can be identified using Django database introspection tools, and targeted indexes can then be created for this purpose. class Article(models.Model): title = models.CharField(max_length=200) created_at = models.DateTimeField(auto_now_add=True) category = models.ForeignKey(Category, on_delete=models.CASCADE) class Meta: indexes = [ models.Index(fields=[‘created_at’, ‘category’]), models.Index(fields=[‘title’], name=’article_title_idx’), ] Consider using partial indexes for frequently filtered data and composite indexes for multi-column queries. PostgreSQL users can take advantage of GIN and GiST indexes for full-text search and geometric data. Connection Pooling and Database Configuration Implement connection pooling to reduce database connection overhead. For PostgreSQL, consider using pgbouncer or Django’s built-in connection pooling: DATABASES = { ‘default’: { ‘ENGINE’: ‘django.db.backends.postgresql’, ‘NAME’: ‘your_db’, ‘USER’: ‘your_user’, ‘PASSWORD’: ‘your_password’, ‘HOST’: ‘localhost’, ‘PORT’: ‘5432’, ‘CONN_MAX_AGE’: 600, # Connection persistence ‘OPTIONS’: { ‘MAX_CONNS’: 20, } } } Caching Strategies for 2025 Redis and Memcached Optimization Modern caching strategies are employed to enhance Django app performance; in addition, multi-level caching is implemented with Redis for session storage, database query caching, and API response caching: CACHES = { ‘default’: { ‘BACKEND’: ‘django_redis.cache.RedisCache’, ‘LOCATION’: ‘redis://127.0.0.1:6379/1’, ‘OPTIONS’: { ‘CLIENT_CLASS’: ‘django_redis.client.DefaultClient’, ‘SERIALIZER’: ‘django_redis.serializers.json.JSONSerializer’, ‘COMPRESSOR’: ‘django_redis.compressors.zlib.ZlibCompressor’, } } } Use cache versioning and cache warming strategies to maintain data consistency while maximizing cache hit rates. Template Fragment Caching Implement granular template caching for expensive template operations: {% load cache %} {% cache 500 expensive_sidebar request.user.username %} <!– Expensive sidebar computation –> {% for item in complex_queryset %} {{ item.expensive_method }} {% endfor %} {% endcache %} API Response Caching For Django REST Framework applications, implement intelligent API caching: from rest_framework.decorators import api_view from django.views.decorators.cache import cache_page @cache_page(60 * 15) # Cache for 15 minutes @api_view([‘GET’]) def expensive_api_view(request): # Expensive computation return Response(data) Modern Python Performance Techniques Async Views and Database Operations Django’s async support continues to mature. Use async views for I/O-bound operations: import asyncio from django.http import JsonResponse from asgiref.sync import sync_to_async async def async_view(request): # Parallel database queries users_task = sync_to_async(list)(User.objects.all()) articles_task = sync_to_async(list)(Article.objects.all()) users, articles = await asyncio.gather(users_task, articles_task) return JsonResponse({ ‘users_count’: len(users), ‘articles_count’: len(articles) }) Memory Optimization with Generators Use generators and iterators for processing large datasets: def process_large_dataset(): # Instead of loading all objects into memory # objects = Model.objects.all() # Use iterator() to process objects one at a time for obj in Model.objects.iterator(chunk_size=2000): process_object(obj) Static File Optimization Optimize static file serving with compression and CDN integration: # settings.py STATICFILES_STORAGE = ‘django.contrib.staticfiles.storage.ManifestStaticFilesStorage’ # Use WhiteNoise for efficient static file serving MIDDLEWARE = [ ‘django.middleware.security.SecurityMiddleware’, ‘whitenoise.middleware.WhiteNoiseMiddleware’, # … other middleware ] STATICFILES_STORAGE = ‘whitenoise.storage.CompressedManifestStaticFilesStorage’ Template Optimization Minimize template complexity and use template compilation: TEMPLATES = [ { ‘BACKEND’: ‘django.template.backends.django.DjangoTemplates’, ‘OPTIONS’: { ‘loaders’: [ (‘django.template.loaders.cached.Loader’, [ ‘django.template.loaders.filesystem.Loader’, ‘django.template.loaders.app_directories.Loader’, ]), ], }, }, ] Conclusion Optimizing Django application performance in 2025 requires a holistic approach that combines database optimization, intelligent caching, modern Python techniques, and proper infrastructure setup. The key is to measure performance continuously, identify bottlenecks systematically, and apply optimizations incrementally. Start with database query optimization and caching, as these typically provide the most significant performance improvements. Then move to template and static file optimization, followed by infrastructure improvements. Always measure the impact of your changes and maintain a balance between performance, maintainability, and security.

Boosting Your Django App Performance in 2025: Latest Tips Read More »

Comparison graphic showing Django, Flask, and FastAPI logos with the text 'Django vs Flask vs FastAPI: Best Python Web Framework in 2025?

Django vs Flask vs FastAPI: Best Python Web Framework in 2025?

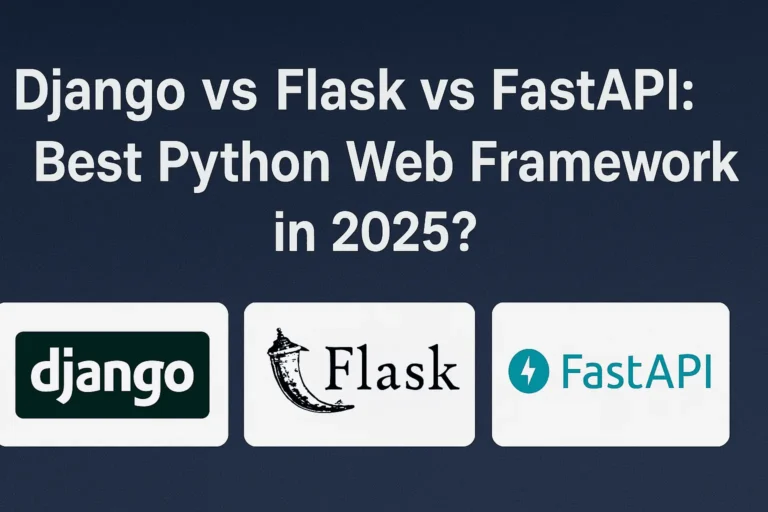
When it comes to web development with Python in 2025, developers are spoilt for choice. Three major frameworks dominate the scene: Django, Flask, and FastAPI. Each has its strengths, weaknesses, and ideal use cases. But which one is the best for your project in 2025? In this article, we’ll explore the latest trends, performance benchmarks, community support, and real-world applications of each framework to help you make an informed decision. Django: The Full-Stack Django is a high-level Python web framework that promotes fast development and simple, practical design. It includes a variety of built-in capabilities, such as an Object-Relational Mapping (ORM), an admin interface, user authentication, and security protections. It’s an ancient framework—initial release date: 21 July 2005. What’s New in 2025: Advantages: Disadvantages: Use Cases: Flask: The Lightweight Microframework Flask is a simple and adaptable microframework. It provides the tools you need to quickly construct web apps without requiring a specific project layout or dependencies. What’s New in 2025: Advantages: Disadvantages: Use Cases: FastAPI: The Rising Star FastAPI is a modern, fast (high-performance) web framework for creating APIs in Python 3.7+ using standard Python type hints. It is an async-first framework developed on top of Starlette and Pydantic. What’s New in 2025: Advantages: Disadvantages: Use Cases: Conclusion All three frameworks are actively maintained and serve different purposes. In 2025, developers are moving toward FastAPI for performance and API-centric applications, but Django remains unbeatable for full-featured web apps, while Flask continues to be the go-to for lightweight projects.

Django vs Flask vs FastAPI: Best Python Web Framework in 2025? Read More »

django

How to Install Django and Create Your First Project

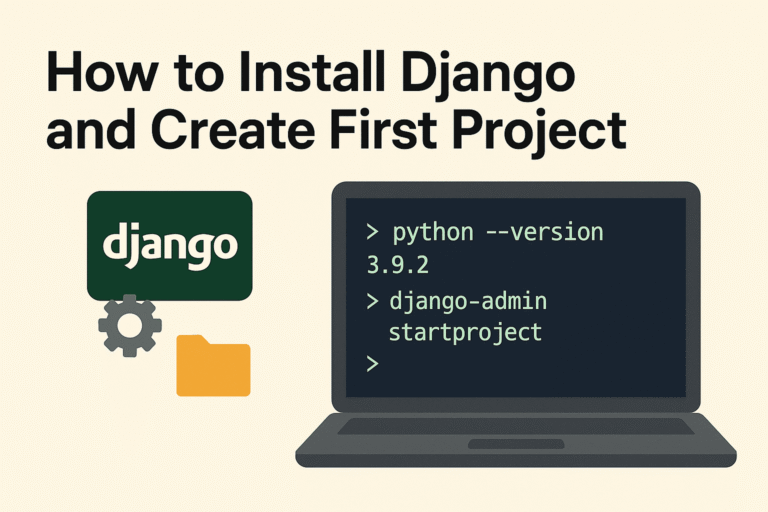
Django is a powerful Python web framework for building Full Stack website quickly and easily.Moreover, it helps you write clean, maintainable code. In addition, it offers a simple admin panel to manage your site efficiently. In this blog post, I’ll guide you step by step so you can get started with Django and ultimately create your first project. To begin with, you need to install Python. Make sure to download it from the official website. During installation, don’t forget to check the option to add Python to your system PATH. Otherwise, you may face issues running Python from the command line. After that, verify your installation by running python –version. If everything is set up correctly, the terminal will show the version number. Now, let’s talk about Django apps. In simple terms, a Django app is a self-contained module within a Django project. Each app performs a specific function or delivers a particular feature. For example, you might have one app for user authentication and another for blog posts. Finally, always use a virtual environment for your Django projects. This way, you can manage dependencies easily and avoid conflicts between different projects. Prerequisites Let’s begin with some requirements Python 3.10 or later During installation on Windows, check the box that says:“Add Python to PATH”This ensures you can run python from the command line without extra setup. Always install Python 3.10+ (latest stable version). Python 2 is deprecated. A code editor like VS Code or PyCharm Step 1: Create a Virtual Environment For projects, always create a virtual environment: #For windows python -m venv “name of your environment” #for macOS or linux python3 -m venv “name of your environment” Step 2: Activate the Environment Note: Here, env is the name of the environment #for windows env\Scripts\activate #for macOS or linux source env/bin/activate Step 3: Install Django Open your terminal or command prompt and run pip install django #to check version django-admin –version Step 4: Create Your Django Project Run the following command to create a new project django-admin startproject myproject Navigate to your project folder: cd myproject Step 5: Now it’s time to create the App “To put it simply, a Django app is a self-contained module that handles a specific task or feature within a Django project.” “Essentially, a Django app is a modular component of a Django project that delivers a distinct feature or functionality.” It contains files like models.py, views.py, apps.py, admin.py, tests.py, etc. Can be reused across multiple Django projects. After creating it, you must add it to INSTALLED_APPS the list in settings.py. python manage.py startapp myapp Step 6: Add the app to the installed apps List Your installed app list looks like this: you need to add it there INSTALLED_APPS = [ ‘django.contrib.admin’, ‘django.contrib.auth’, ‘django.contrib.contenttypes’, ‘django.contrib.sessions’, ‘django.contrib.messages’, ‘django.contrib.staticfiles’, ‘myapp’, ] After that, create a urls.py file in your app. It’s not required to create this file in every app, but it’s a good practice. Keeping separate urls.py Files for each app make your project more organized and easier to manage. The project URLs file looks like this: #myproject urls.py from django.contrib import admin from django.urls import path, include urlpatterns = [ path(‘admin/’, admin.site.urls), path(”, include(‘myapp.urls’)), ] Step 7: Run the Development Server Use this command to start the server python manage.py runserver Open your browser and go to http://127.0.0.1:8000/ Step 8: Make Migrations Before running migrations, make sure to check your database settings in the project’s settings.py file. By default, Django uses SQLite, which is already set up for you and good for small projects. For PostgreSQL: #for windows pip install psycopg2 # for linux pip install psycopg2-binary configuration structure of the database for PostgreSQL DATABASES = { ‘default’: { ‘ENGINE’: ‘django.db.backends.postgresql’, ‘NAME’: ‘your_database_name’, ‘USER’: ‘your_postgres_user’, ‘PASSWORD’: ‘your_password’, ‘HOST’: ‘localhost’, ‘PORT’: ‘5432’, } } For MySQL: #install mysqlclient pip install mysqlclient MySQL configuration structure. DATABASES = { ‘default’: { ‘ENGINE’: ‘django.db.backends.mysql’, ‘NAME’: ‘your_database_name’, ‘USER’: ‘your_mysql_user’, ‘PASSWORD’: ‘your_password’, ‘HOST’: ‘localhost’, ‘PORT’: ‘3306’, } } Migrations in Django are used to create and apply changes to your database schema (like tables and columns) based on your models.py file. python manage.py makemigrations python manage.py migrate Step 9: Create Super User This is the final step to manage CRUD operations using Django’s admin panel. You need to create a superuser. Use the command below to create it: python manage.py createsuperuser Comment below if you doubt this section.

How to Install Django and Create Your First Project Read More »

Scroll to Top