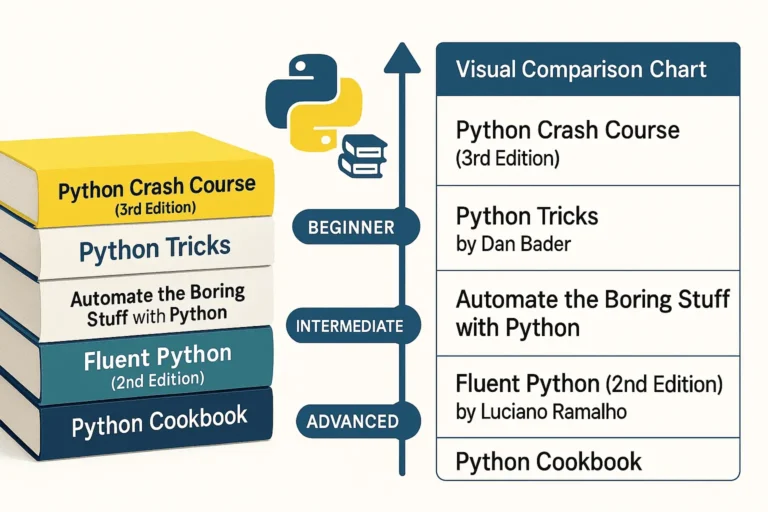
5 Best Python Books for Beginners
Python has become one of the most popular programming languages in the world, and with good reason. To begin with, its clean syntax, versatility,…
Read articleInsights
Python has become one of the most popular programming languages in the world, and with good reason. To begin with, its clean syntax, versatility,…
Read article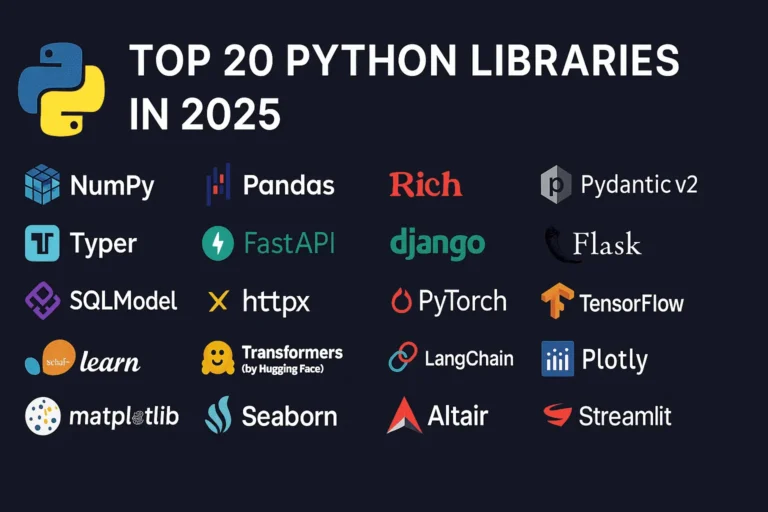
Python continues to dominate the programming landscape in 2025, and much of its success stems from its incredible ecosystem of libraries. Whether you’re building…
Read article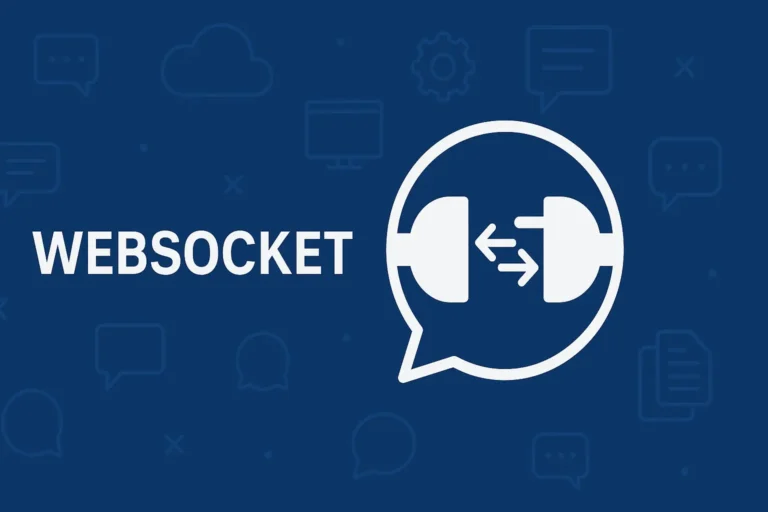
Introduction WebSocket is a game-changing technology that enables persistent, bidirectional communication between clients and servers. In today’s web development landscape, real-time communication is essential…
Read article
In the ever-evolving React ecosystem, developers often struggle to choose the right UI library—one that is fast, accessible, modern, and developer-friendly. HeroUI, formerly known…
Read article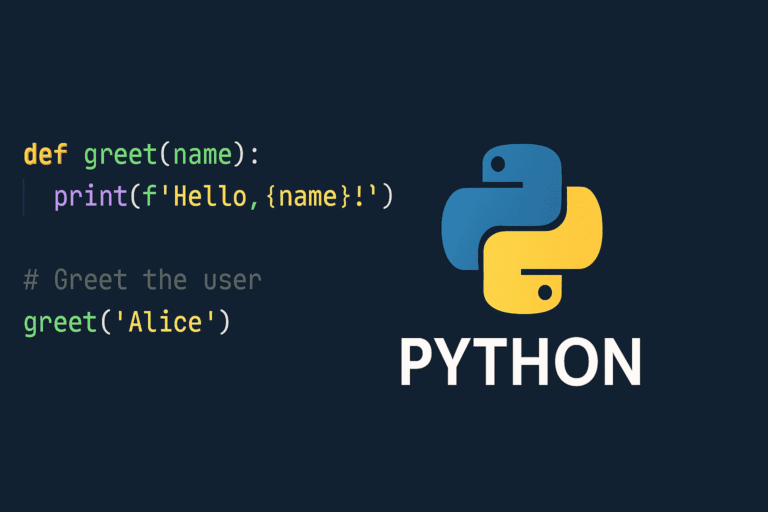
Whether you’re a beginner just starting with Python or a seasoned developer needing a quick refresher, this Python Cheat Sheet has you covered! This…
Read article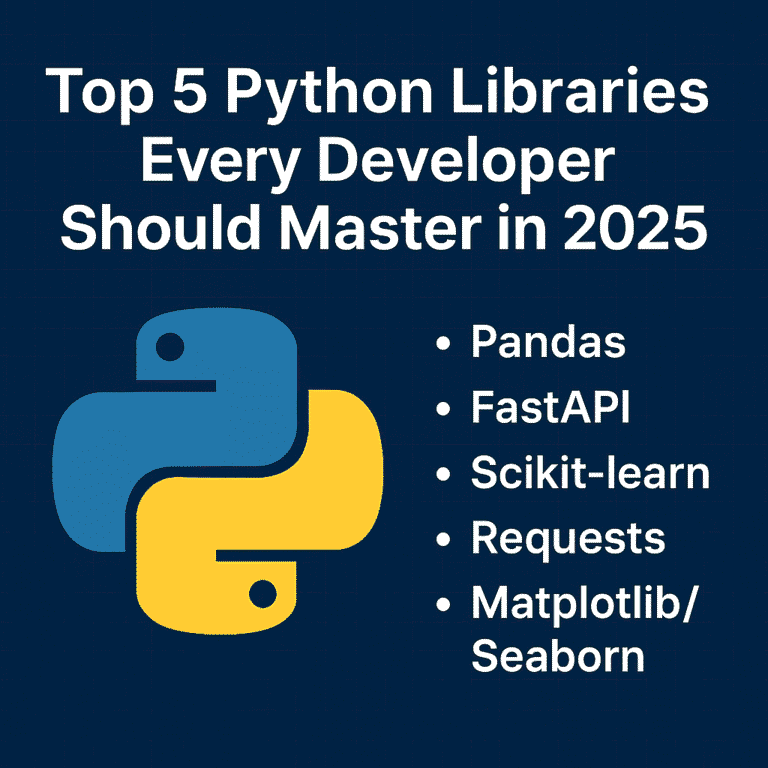
As we move further into 2025, Python continues to be one of the most popular programming languages in the world. Its clean syntax, vibrant…
Read article
When I first started learning Python, I focused mostly on syntax and solving basic problems. But as I wrote more code, I realized that…
Read article
Performance optimization remains a critical aspect of Django development, and 2025 brings new tools, techniques, and best practices that can dramatically improve your application’s…
Read article
Artificial Intelligence is shaping the future of web applications. One of the most powerful tools in this space is ChatGPT, developed by OpenAI. In…
Read article
Streamlit is a Python library that lets you build web apps super easily. Think of it as a way to turn your Python scripts…
Read article